Pages

Tuesday, November 07, 2006

Design Process Step by Step

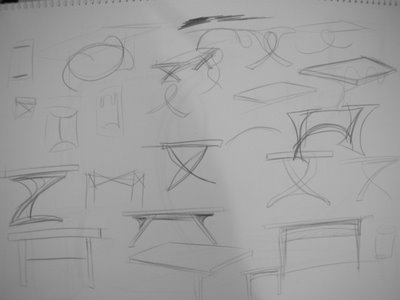
I thought it might be interesting to show how I bring my projects from concept to reality. Below is a page from my sketchbook.
I find that by sketching quickly and not getting hung up on details I generate more and hopefully better concepts. Sometimes even a mistake or scribble can inspire another concept. These sketches were for the table shown below.
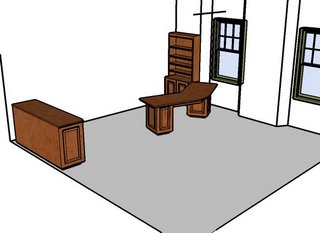
Normally the client doesn't see my sketches, they are usually presented with a maquette or 3D rendering of the piece. The 3D rendering below is for the office suite featured in a previous post. The rendering made it possible for the client to see how the suite of furniture would look in situ.
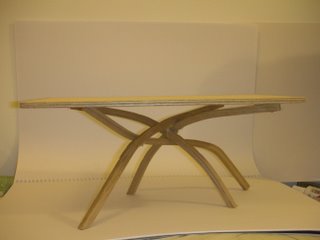
I use the maquettes to model up pieces that are visually or technically quite complex. As you can see the maquette shown is a fairly quickly made model but it really helps in visualising and fine tuning the design. This design will more than likely not get to the full mock up stage. What will probably happen is that the design for the table will evolve during construction. This can be a little risky, as any problems encountered e.g. in the jointing of the legs will have to be resolved carefully and quickly.
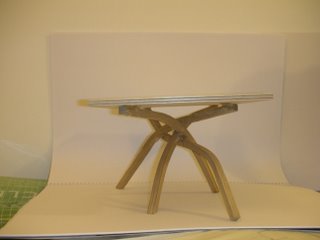
This project will be going ahead in the coming days and weeks and I will be posting images and comments on the production process in part two of the series. The legs are going to be steam bent white oak and the top is chestnut and elm. I'm off now to build a steamer.

Wednesday, September 27, 2006

Japanese Style Shoji Wardrobe


Wow I didn't realise that it has been so long since I last updated. The main reason for this is not only that is was the summer; but that recently I have been busy with a number of projects, all at various stages. Anyway here is a photo of a built-in wardrobe I made recently. It's made from Southern Yellow Pine and the screens are basic curtain lining material. This was chosen because the traditional rice paper wouldn't have been strong enough. The drawers in the centre go all the way up to the turn of the eaves to maximise the amount of storage. Cut-outs were used as handles for the drawers because surface mounted handles would have got in the way of the doors. All of the half joints in the screens were cut by hand in the traditional way and the mortice and tenon joints in the frame are pegged for extra strength.

It has also been brought to my atteniton tht their are a lot of typos in my blog so I'll be more careful in future and I will be correcting previous errors.

Thursday, July 27, 2006

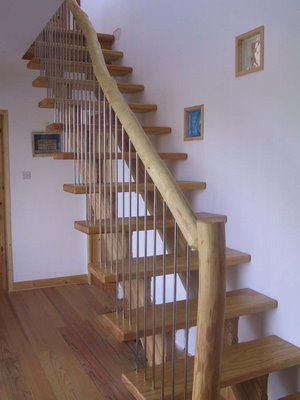
Stairs by Tiernan Roe Fine Woodworking

It's been awhile since I updated but unlike before where I was too busy working to post anything, I'm now spending as much of my free time as possible out sailing. The weather has been especially good lately and when I can see the sea from my workshop it's very hard to resist the temptation to knock off early and go sailing.
Enough excuses and I'll give you a run down of the stairs illustrated below. The strings are made from 9" by 2" Ash and each step was cut out and the "waste" piece was glued and screwed to the step below to extend the string to an effective width of 12". The treads are 10" by 2" Honduras Pitch Pine to match the flooring.


The handrail is Ash again and came from a site clearance. The bark was stripped off with a drawknife and the hand rail was then mortised into the newel posts. I used 10mm stainless steel bar for the spindles to make the appearance as light as possible and still maintain strength. The spindles had to be individually plumbed up from the tread to the bottom of the hand rail so they wouldn't look crooked, which was a very time consuming operation. Next time I'll use a laser plumb bob.